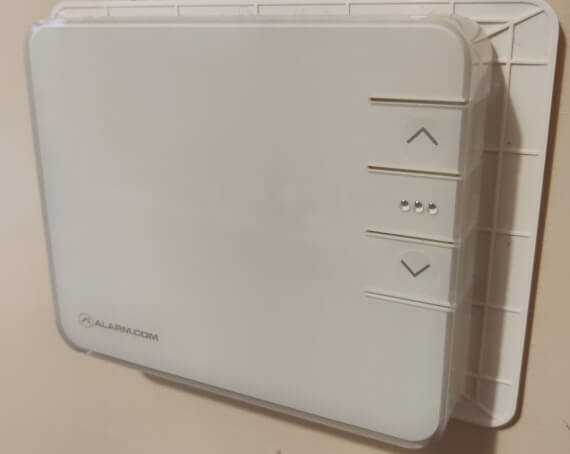
Alarm.com Smart Thermostat (ADC-T2000)
This Z-Wave smart thermostat normally requires an Alarm.com account (which can only be obtained through a home security provider), but can also be controlled fully locally through Home Assistant, without an account. This is how I use it to control my electric furnace, and it allows me to do everything you would expect from a thermostat: view the current temperature, turn the heat on or off, and set the target temperature. Of course, the real value of integrating this with Home Assistant is to be able to set automations, such as turning the heat down at night or when there is nobody home.
This thermostat can be powered either by the house's electrical system via a C-wire or by 2 AA batteries. In any case, this thermostat can only be used with a 24V circuit, not a 120V/240V one — it is therefore NOT suitable for baseboard heaters. Make sure that you know what you are doing and check your local regulations before attempting to install this product (you might be legally required to hire an electrician to do it for you).
Usage with Home Assistant
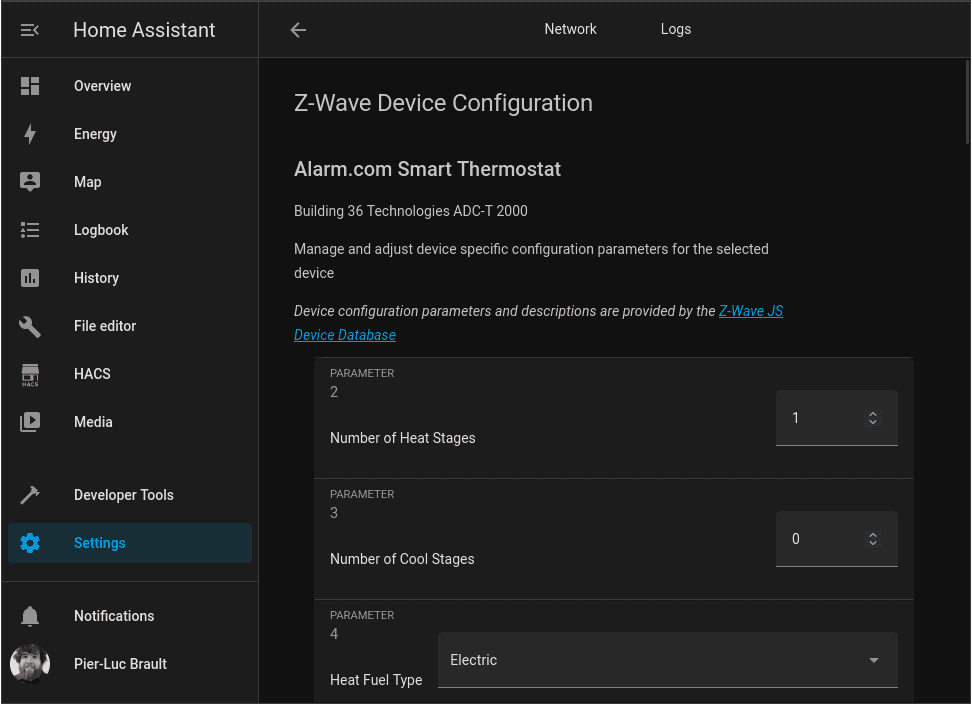
Once installed and paired with Home Assistant's Z-Wave JS Integration, it can be configured from Home Assistant's interface by going to Settings > Devices and Services > Devices Tab > Alarm.com Smart Thermostat and then clicking the Configure button.
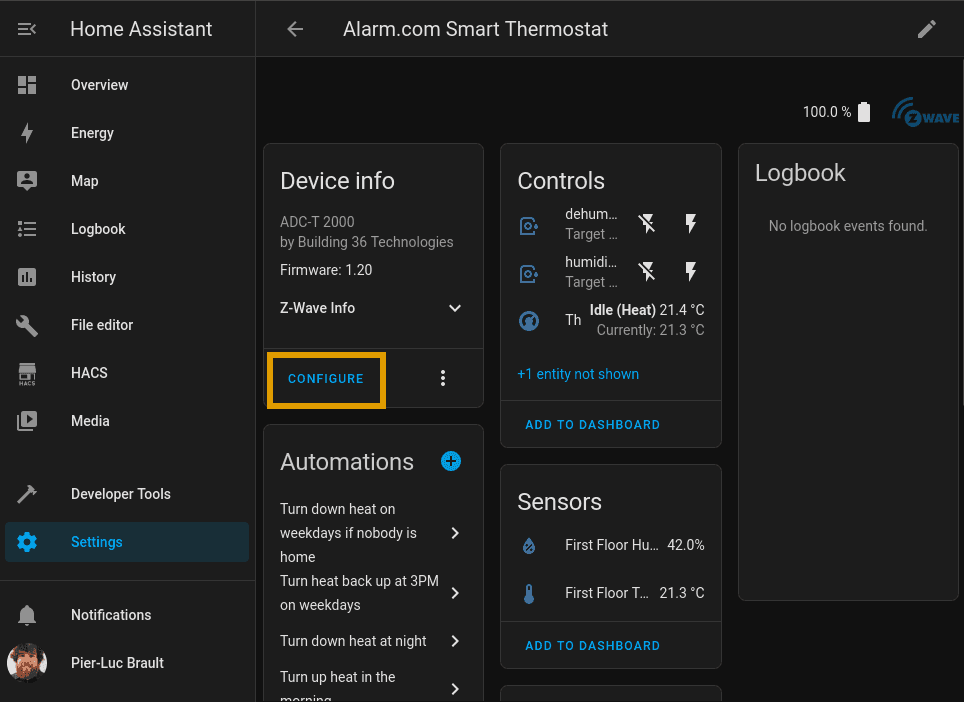
This is the way to go to be able, for example, to set the number of heating and cooling stages, change the display unit to Celsius instead of Fahrenheit, etc.
Once everything is configured properly, you can add a thermostat card to your dashboard to be able to control the thermostat:
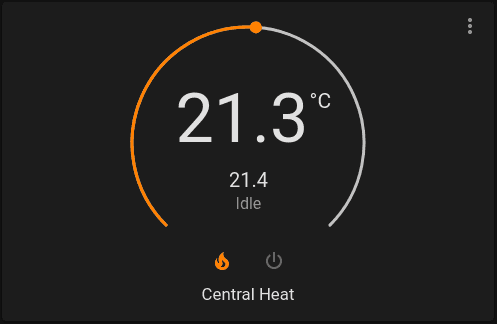
In my case, I first had to reboot Home Assistant before I was able to control the thermostat's target temperature through it.
Finally, in order to change the target temperature from an automation action, you need to select the Climate: Set Temperature service, choose the proper device (choosing the entity instead of the device might not work), input the new target temperature, and set HVAC mode to Heat:
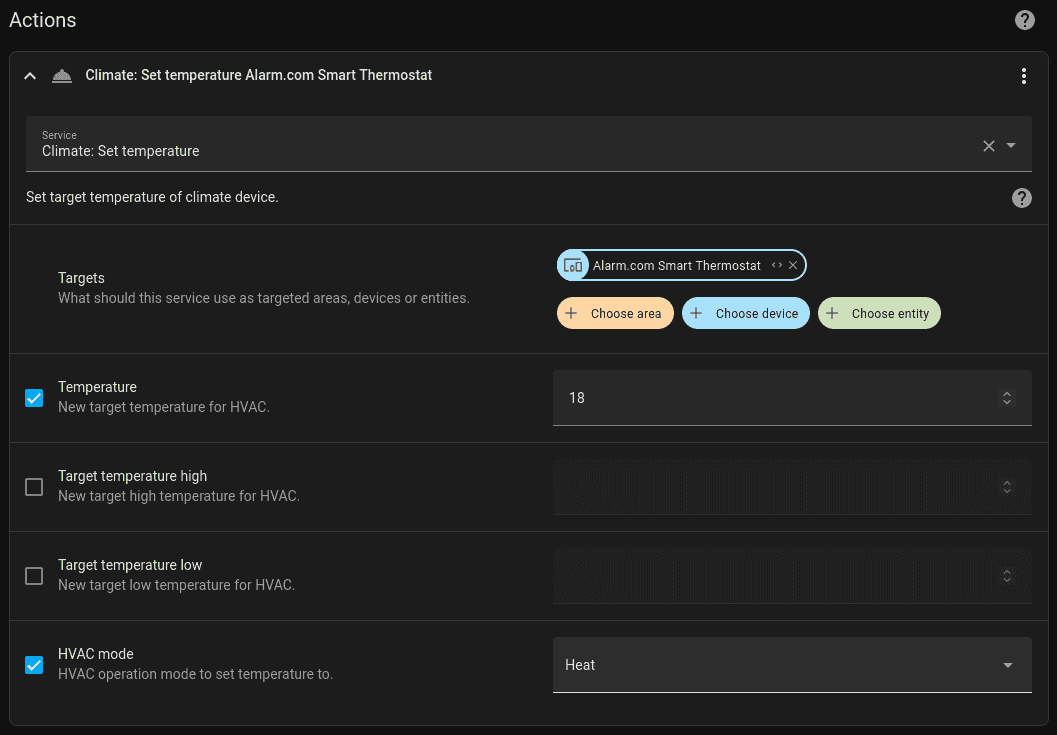
Here is the YAML version:
service: climate.set_temperature
data:
  temperature: 18
  hvac_mode: heat
target:
  device_id: <YOUR DEVICE ID>
Please note that my thermostat is configured to display the temperature in Celsius, and this is also the unit I use when specifiying the desired target temperature in my automations. I do not know if using a unit configured in Fahrenheit requires to set the temperature in Fahrenheit instead.
This device has been working as intended so far. I noticed only one problem with it: it weirdly seems to reject some specific target temperatures. For example, if I try to set the temperature to 21 ℃, it resets it to the previous value seconds later, but 20.9 ℃ works fine. I consider this to be only a minor annoyance once you know the trick. I do therefore recommend this device for use with Home Assistant.
This product review is provided with no guarantee that you will have the same experience as its author. (Full Disclaimer)